

How to Send Bitcoin on Cash App – Complete Step-by-Step Guide (2026)
If you’ve ever wondered how to send Bitcoin on Cash App, you’ve landed on the right page. Whether you’re sending BTC to a friend, paying for something with crypto, or moving funds to an external wallet, Cash App makes the process surprisingly simple even if you’re a complete beginner.
How to send Bitcoin on Cash App is one of the most searched crypto questions in 2026, and for good reason. With over 57 million users, Cash App has become one of the most popular platforms for everyday Bitcoin transactions. Its clean interface, built-in wallet, and Lightning Network support make it a go-to choice for millions of people who want to handle Bitcoin without the complexity of traditional crypto exchanges.
In this complete guide, we’ll walk you through everything you need to know about how to send Bitcoin on Cash App from setting up your account and verifying your identity, to understanding fees, limits, and how to avoid the most common mistakes people make when sending BTC.
Table of Contents
What Is Cash App and How Does Bitcoin Work on It?
Before we dive into exactly how to send Bitcoin on Cash App, it helps to understand what Cash App is and how it handles Bitcoin behind the scenes.
Cash App is a fintech platform that has allowed users to buy, sell, and transfer Bitcoin directly from their mobile phones since 2018. It has become a go-to platform for millions of Bitcoin first-timers, thanks partly to its user-friendly design. CoinTracker
With over 57 million users, Cash App has evolved into a versatile financial platform for money transfers, stock investments, and Bitcoin transactions. Cash App manages your Bitcoin keys for convenience but limits control and imposes withdrawal caps. It’s ideal for small, frequent transactions. Webopedia
Cash App integrates with the Bitcoin blockchain and functions as a centrally controlled BTC wallet for its users, which means Cash App users can buy, sell, and store their Bitcoin directly within the app. To enhance security, Cash App keeps the Bitcoin it holds offline in cold storage wallets. CoinTracker
In plain terms: Cash App is a custodial Bitcoin wallet. You don’t control the private keys, but the trade-off is an incredibly smooth, beginner-friendly experience for sending and receiving BTC.
Before You Send Bitcoin on Cash App: What You Need
Learning how to send Bitcoin on Cash App starts with making sure your account is properly set up. You cannot send, receive, or buy Bitcoin on Cash App without completing a few prerequisites first.
1. Download and Set Up Cash App
If you don’t already have Cash App, download it and set up an account. Make sure you link a funding source, like your bank account or debit card, to buy Bitcoin. Koinly
2. Complete Identity Verification (KYC)
This step is mandatory. To use Bitcoin features, you’ll need to verify your identity by submitting your full name, date of birth, and the last four digits of your Social Security number, along with a government-issued ID. CoinLedger
This is a standard Know Your Customer (KYC) process, required by financial regulations. Without completing it, you simply cannot send Bitcoin on Cash App ,no workarounds exist.
3. Fund Your Bitcoin Wallet
You need to have Bitcoin in your Cash App wallet before you can send it. There are two ways to add crypto to your account: you can buy Bitcoin directly in the app by finding the “Money” tab, selecting BTC, pressing “Buy,” and confirming your purchase or you can deposit it from another wallet by generating a BTC wallet address in the app and transferring from an external source. Rates
4. Know Your Transfer Limits
Bitcoin withdrawals on Cash App have a $2,000 daily limit and a $5,000 weekly limit. UseTheBitcoin If you need higher limits, completing additional identity verification steps within the app can unlock them.
Read more : Why Is Bitcoin Dropping? 10 Real Reasons Behind the 2026 BTC Price Crash
How to Send Bitcoin on Cash App: Step-by-Step Guide
Now that your account is set up and funded, here is the complete, detailed walkthrough of how to send Bitcoin on Cash App.
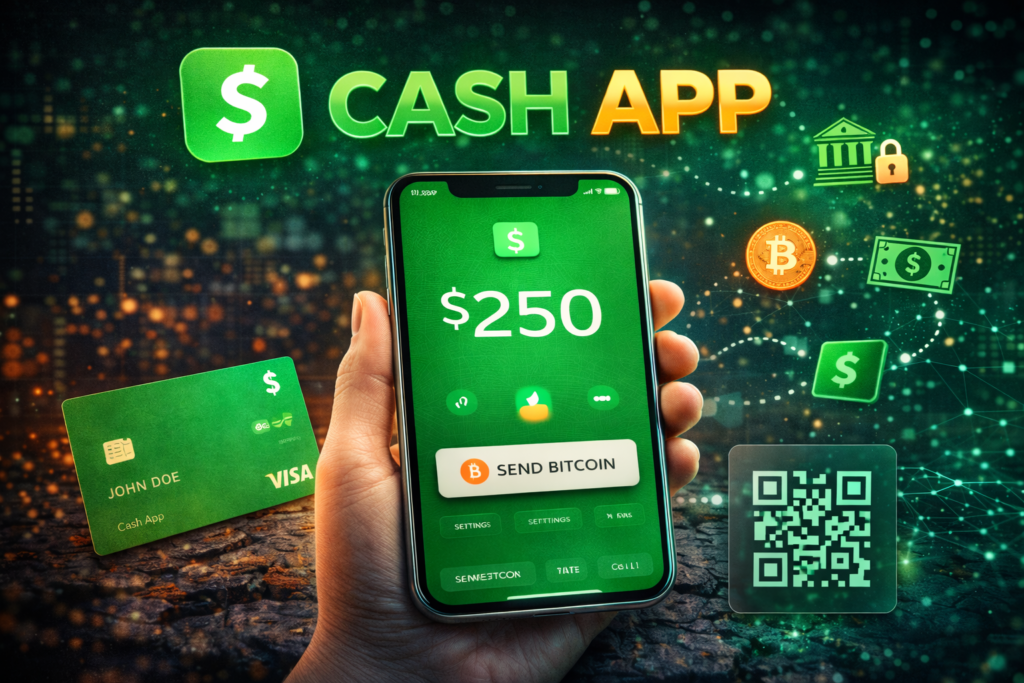
Step 1 Open Cash App and Navigate to the Bitcoin Tab
Open Cash App and tap the Bitcoin tab at the bottom of the screen. Tap “Send Bitcoin” on the Bitcoin home screen. UseTheBitcoin
On some versions of the app, you may see a Bitcoin icon at the bottom that resembles a “B” with two vertical lines. Tap that to open your Bitcoin wallet.
Step 2 Tap the “Send” Button
Tap the “Send” button. You’ll be prompted to enter the recipient’s Bitcoin address, a QR code, or a $Cashtag (if sending to another Cash App user). Webopedia
Step 3 Enter the Recipient’s Details
This is the most critical step when learning how to send Bitcoin on Cash App. You have three ways to identify your recipient:
- Bitcoin wallet address – a long alphanumeric string (e.g., bc1qxy2kgd…)
- QR code – scan the recipient’s QR code directly
- $Cashtag – if the recipient also uses Cash App, you can use their unique $Cashtag username
Always confirm the recipient wallet destination before sending BTC, because blockchain operations cannot be undone following confirmation.Samourai Wallet This warning cannot be overstated , Bitcoin transactions are permanent. One wrong character in the wallet address and your funds are gone forever.
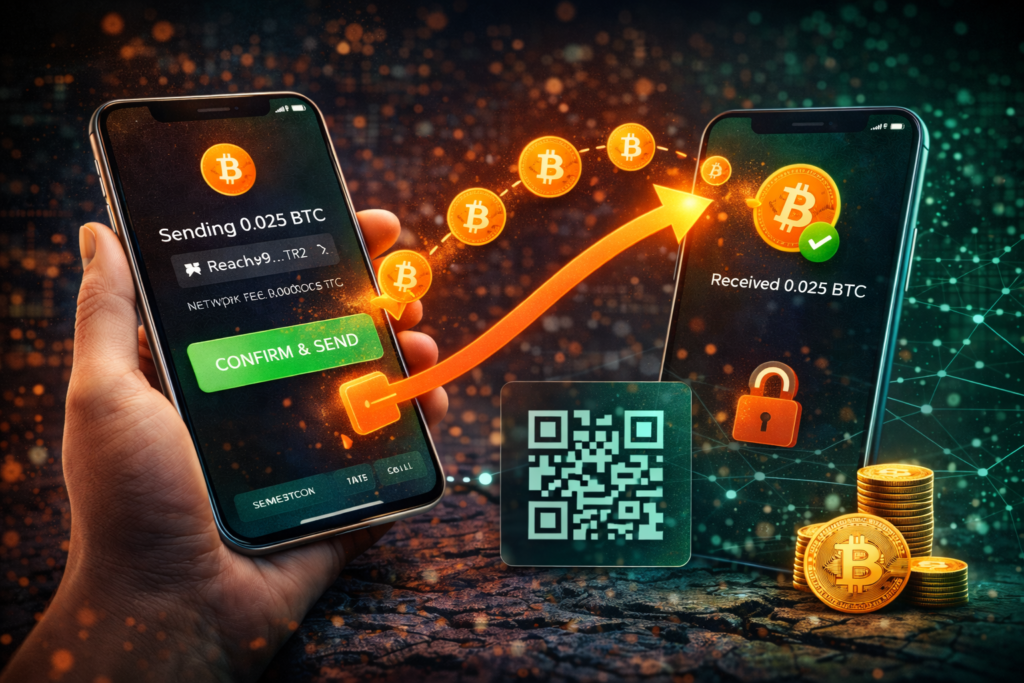
Step 4 Enter the Amount
Enter the amount you want to send, and toggle between USD and BTC as needed. UseTheBitcoin
Cash App automatically converts the USD amount to Bitcoin using real-time rates. Webopedia This is extremely helpful for beginners who think in dollars rather than satoshis.
Step 5 Choose Your Network (Standard or Lightning)
Cash App gives you a choice of two networks to send Bitcoin:
Standard Bitcoin Network the original blockchain. Slower (10 minutes to a few hours) but universally compatible with all wallets.
Lightning Network a faster, cheaper layer built on top of Bitcoin. The Lightning Network offers lower fees and faster speeds than the standard Bitcoin network. To send money on the Lightning Network, simply follow the steps above but type in the recipient’s Lightning Invoice instead of their Bitcoin wallet address. CoinLedger
For most everyday transfers, the Lightning Network is the better choice if the recipient supports it.
Step 6 Select Your Transfer Speed
You can pay extra to have your BTC transferred immediately or you can wait to have it transferred for free. The free transfer option is only available to users transferring $100 in BTC or more. CoinLedger
If your transfer is not time-sensitive, the free option is perfectly fine. If speed matters, you’ll pay an additional network fee for priority processing.
Step 7 Review Everything Carefully
Before you hit confirm, double-check every detail:
- Is the recipient’s wallet address correct? (Check every character)
- Is the amount correct?
- Have you accounted for fees?
Bitcoin transactions are irreversible , once sent, they can’t be canceled. Cash App requires a security PIN, Face ID, or fingerprint to finalize the transaction. Webopedia
Step 8 Confirm and Send
Tap “Confirm” and authenticate with your PIN, Face ID, or Touch ID. After you confirm, the transaction goes out to the Bitcoin network right away. Depending on how busy the network is, it can take anywhere from a few minutes to a couple of hours to fully confirm on-chain. UseTheBitcoin
Step 9 Wait for Confirmation
| Step | Action |
| 1 | Open Cash App → Tap Bitcoin tab |
| 2 | Tap “Send Bitcoin” |
| 3 | Enter recipient address, QR code, or $Cashtag |
| 4 | Enter amount in USD or BTC |
| 5 | Choose network (Bitcoin or Lightning) |
| 6 | Select transfer speed (free or paid) |
| 7 | Review all details carefully |
| 8 | Confirm with PIN, Face ID, or Touch ID |
| 9 | Wait for blockchain confirmation |
Cash App will send you a notification once your transaction has been confirmed. CoinLedger You can also track the transaction using the Bitcoin txid (transaction ID) on any blockchain explorer like Blockchain.com.
How to Send Bitcoin on Cash App: Quick Reference Summary
How to Receive Bitcoin on Cash App
Knowing how to send Bitcoin on Cash App is only half the picture. Here’s how to receive it too.
Tap the Bitcoin icon on the home screen. Click the “Receive” button to generate a unique Bitcoin address or QR code. Copy the alphanumeric address or share the QR code directly. Each address is single-use for privacy reasons, but old addresses remain valid. Funds usually appear in your Cash App wallet within 10–30 minutes. You’ll get a notification once the transaction is confirmed on the blockchain. Cash App doesn’t charge fees for receiving Bitcoin however, the sender may incur network fees. Webopedia
Cash App Bitcoin Fees: What Will It Cost You?
One of the most important things to understand when learning how to send Bitcoin on Cash App is the fee structure. Cash App is not always the cheapest option, but it’s one of the most convenient.
Here’s what you need to know about fees:
Network (Miner) Fees – Cash App charges a miner fee (paid to Bitcoin network validators) for outgoing transactions. This fee fluctuates based on network demand. Webopedia
Speed Premium Fee – If you want an instant transfer, you pay a premium. If you’re willing to wait, you can send for free – but only on transfers of $100 or more in BTC.
Purchase Fees – When you buy Bitcoin on Cash App (before sending it), Cash App charges a spread fee on top of the market price. This is higher than dedicated exchanges like Coinbase or Kraken, but the convenience factor makes it worthwhile for many users.
Pro tip: To minimize fees when sending Bitcoin on Cash App, use the Lightning Network whenever the recipient supports it, send during off-peak hours when network congestion is low, and choose the free transfer option if your transaction isn’t urgent.
Cash App Bitcoin Limits (2026)
Understanding your limits is essential before you attempt to send Bitcoin on Cash App especially for larger transactions.
Bitcoin withdrawals have a $2,000 daily limit and a $5,000 weekly limit. UseTheBitcoin
You can check your limits by opening Cash App, tapping your profile icon in the top-left corner, searching for “Limits,” and selecting the relevant option to view your weekly and monthly limits for sending and receiving. Koinly
To increase your limits, you may need to complete additional identity verification steps within the app. Cash App will typically prompt you to do this when you approach your cap.
Cash App Bitcoin vs. External Wallets: What’s the Difference?
When you learn how to send Bitcoin on Cash App, it’s important to understand that Cash App is a custodial wallet meaning Cash App holds your private keys on your behalf.
With a custodial wallet like Cash App, you don’t have direct ownership of your private keys. This means you rely on Cash App’s security measures to protect your Bitcoin. However, custodial wallets are great for small, frequent transactions they make sending, receiving, and holding Bitcoin easy without requiring technical expertise. For larger holdings or if you value complete control over your cryptocurrency, consider transferring your Bitcoin to a non-custodial wallet. Non-custodial wallets like Ledger and Trezor, or software-based wallets like Exodus, allow you to manage your private keys directly. Webopedia
In short: Cash App is perfect for small, day-to-day Bitcoin transactions. For long-term storage of significant Bitcoin holdings, a hardware wallet offers superior security.
Common Problems When Sending Bitcoin on Cash App (And How to Fix Them)
Even after mastering how to send Bitcoin on Cash App, you may run into issues. Here are the most common problems and their solutions:
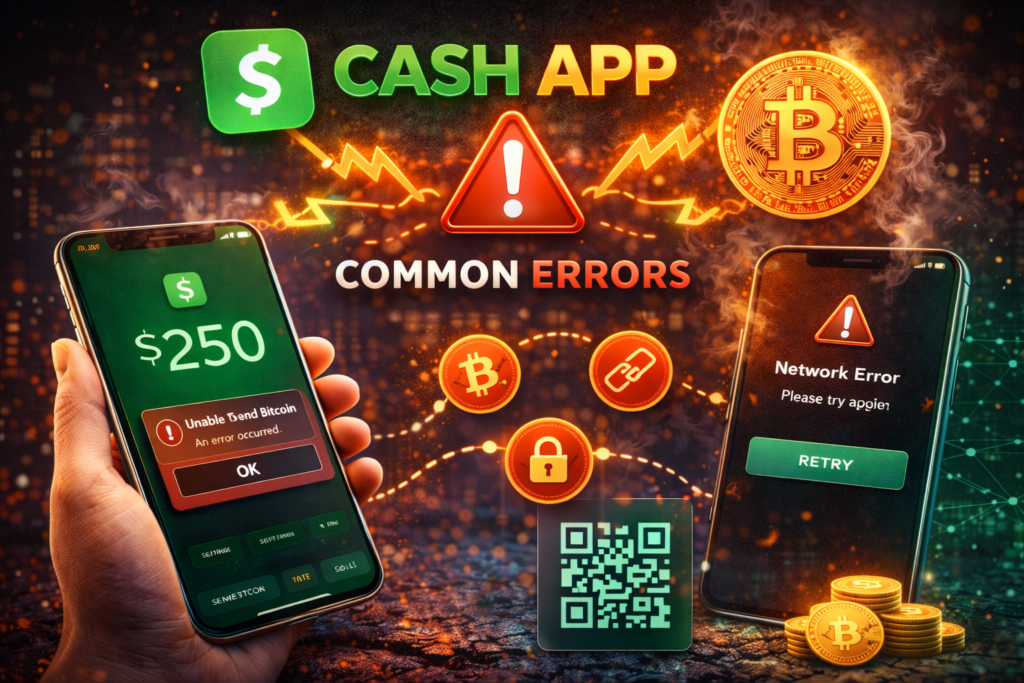
Problem: Transaction is pending for too long This usually happens during periods of high network congestion. If you chose the free transfer option, your transaction joins a queue. Simply wait it will confirm eventually.
Problem: Wrong wallet address entered Unfortunately, this is irreversible. Bitcoin transactions cannot be canceled or refunded once sent. Always triple-check the wallet address before confirming.
Problem: “Unable to send” error You may not have enough BTC or cash balance to cover the move and any fees. Your account could have a temporary restriction or security hold. BTC features may be limited in some regions. Samourai Wallet
Problem: Bitcoin features not available Make sure your identity verification is complete. Without full KYC, Bitcoin features remain locked.
Problem: Transfer limit reached Check your current limits in the app and complete any additional verification steps to increase them.
How to Stay Safe When Sending Bitcoin on Cash App
Security is paramount when you learn how to send Bitcoin on Cash App. Here are the top safety practices to follow:
Enable Two-Factor Authentication (2FA) for extra security. Set a strong PIN and password for Cash App. Enable transaction notifications to monitor activity. Avoid using public Wi-Fi when sending BTC. CliffsNotes
Additionally, always verify the wallet address you’re sending to especially if someone sends it to you via text or email. Crypto scams often work by swapping out the last few characters of a wallet address. Never rush a Bitcoin transaction.
Read more : Why Is the Crypto Market Down Today? 10 Powerful Reasons You Must Know
How do I send Bitcoin on Cash App for the first time?
To send Bitcoin on Cash App for the first time, download the app, complete identity verification (name, date of birth, last 4 digits of your SSN, and a government ID), fund your Bitcoin wallet by buying BTC or depositing from another wallet, then tap the Bitcoin tab, tap “Send Bitcoin,” enter the recipient’s address or $Cashtag, enter the amount, choose a transfer speed, and confirm the transaction.
Can I send Bitcoin on Cash App without verification?
No. Identity verification is mandatory to send Bitcoin on Cash App. This is a regulatory requirement to prevent fraud and money laundering. You must provide your full legal name, date of birth, and the last four digits of your Social Security number at minimum.
How long does it take to send Bitcoin on Cash App?
The time depends on the network option and transfer speed you choose. Using the Lightning Network, transfers can be nearly instant. On the standard Bitcoin network, transactions typically confirm within 10 minutes to a few hours, depending on network congestion and the fee you paid.
What are the fees for sending Bitcoin on Cash App?
Cash App charges a variable miner fee for outgoing Bitcoin transactions, which fluctuates with Bitcoin network demand. Instant transfers cost an additional premium fee. Transfers of $100 or more in BTC can be sent for free using the standard option (though processing may take up to 24 hours).
External Resources
For deeper research and official guidance, explore these trusted sources:
- Official Cash App Bitcoin Help Center — Sending and Receiving Bitcoin
- CoinLedger — How to Send Bitcoin on Cash App (with Tax Implications)
- Koinly — Complete Cash App Bitcoin Transaction Guide
- VanEck — Bitcoin Market and Price Analysis 2026
- CoinDesk — Bitcoin Network and Transaction News
Conclusion
Now you know exactly how to send Bitcoin on Cash App from account setup and identity verification, to step-by-step sending, fee management, and security best practices.
How to send Bitcoin on Cash App doesn’t have to be complicated. The platform has done an excellent job of stripping away the technical complexity that intimidates most new crypto users. Whether you’re sending BTC to a family member, paying a contractor, or moving funds to a hardware wallet for safekeeping, Cash App handles it all in just a few taps.
The most important things to remember when you send Bitcoin on Cash App are: always verify the recipient’s wallet address before confirming (because transactions cannot be reversed), understand the fees before you send, stay within your transfer limits, and use the Lightning Network whenever possible for faster, cheaper transactions.
How to send Bitcoin on Cash App is a skill that takes about five minutes to learn and a lifetime of smart habits to perfect. Start small, double-check everything, and build your confidence from there.
Happy sending and always stay safe with your crypto.